Overview
A well-written SRS (Software Requirements Specification) is the difference between a smooth delivery and endless revision cycles. Most delays happen because requirements are unclear, evolving, or undocumented. This guide walks through the exact steps inside Nevim to go from a blank dashboard to a downloadable SRS in PDF or Word.
Quick Steps
Here is the short version before you dive into the full walkthrough:
- Create a project.
- Create an SRS inside the project.
- Create the feature list inside the SRS.
- Add Project Details, Feature list, and SRS versions as needed.
- Add feature details like user story, data fields, and business rules.
- View the SRS details as a single page.
- Download the SRS as PDF or Word.
Step 1: Start from the dashboard
Open your dashboard and look for the Projects area. This is the starting point for every SRS.

Step 2: Create your first project
If your project list is empty, click Add Project to create a workspace for the SRS.

Step 3: Fill in the project details
Give the project a clear, outcome-focused name so stakeholders immediately understand what it is about.

Step 4: Open the project from the list
Once saved, the project shows up in the list. Click it to open the project workspace.

Step 5: Enter the project workspace
Inside the project, you can manage SRS documents and track their versions.

Step 6: Create the SRS document
Click Add SRS to create the main SRS document for this project.

Step 7: Confirm the SRS is created
Your new SRS appears in the list. This is now the single source of truth for scope and requirements.

Step 8: Open the SRS
Click into the SRS to start adding the details.

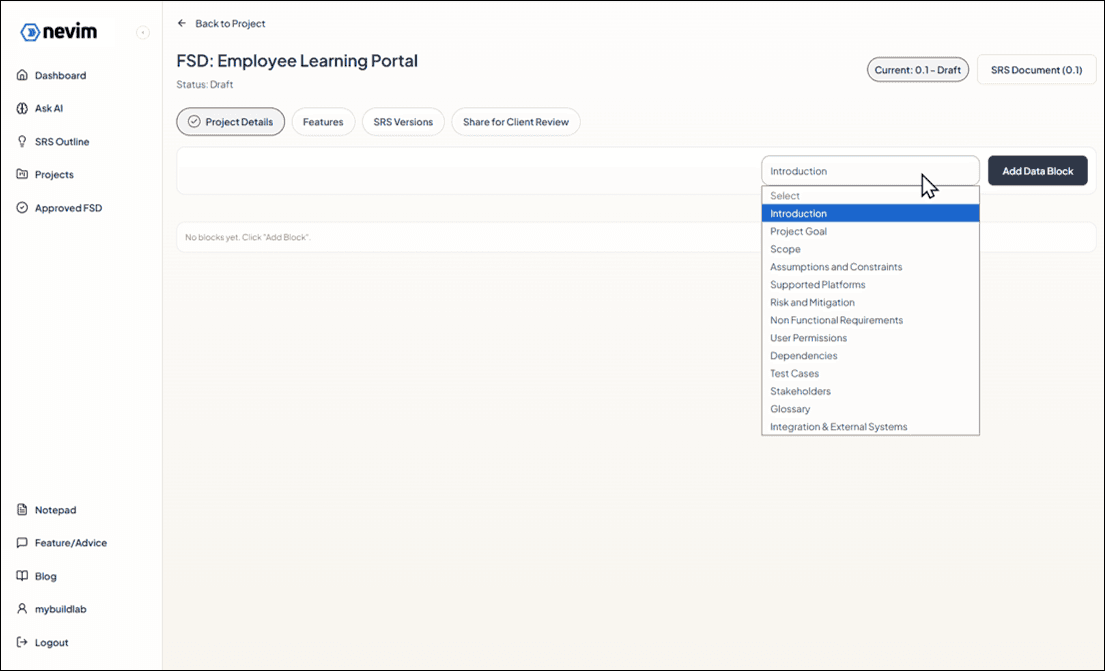
Step 9: Add Project Details
Begin with project details so everyone understands goals, scope, and stakeholders.

Step 10: Choose a project details section
Select the type of project detail you want to capture (goals, stakeholders, scope, and more).
Step 11: Project details added
Your project detail section now appears in the SRS and is ready to fill in.

Step 12: Add the feature list
List the core features the product must deliver. This makes scope review simple and visual.

Step 13: Review the feature list
Make sure the features are grouped clearly and written in outcome-focused language.

Step 14: Add feature details
Pick a feature and add its details so the team knows exactly what to build.

Step 15: Capture user stories and use cases
Describe who uses the feature, what they need, and the expected behavior.

Step 16: Add rules, validations, and other details
Document business rules, edge cases, and validations to remove ambiguity.

Step 17: View Finalised SRS
Review the full SRS to confirm everything is included, consistent, and ready for sign-off.


Step 21: Download as PDF
Export the SRS as a PDF for easy sharing and sign-off.

Step 22: Download as Word
You can also export the SRS as a Word document if your team prefers editing or reviewing in Word.

Why This Matters
A detailed SRS reduces client revision cycles, prevents uncontrolled scope changes, protects delivery margins, aligns development teams, and creates a clear audit trail. If your team struggles with version confusion or repeated rework, the issue is usually not execution. It is documentation clarity.
Final Thought
A great SRS is not just documentation. It is a scope control mechanism. When structured properly, it protects your project from ambiguity, misalignment, and costly revisions.